Why an Iron Smelter Blueprint Matters
An iron line is one of the first factory systems that turns basic logistics into a lasting production backbone. A good alchemy factory iron smelter blueprint keeps ore arriving, heat available, and ingots moving before the smelter blocks the rest of your build.
Iron ingots are required for valuable manufactured goods such as nails, and they also become part of later steel production. Since an Iron Smelter runs for a long cycle and needs continuous heat while working, a compact design that ignores fuel delivery can consume your attention and factory space.
The core recipe is straightforward, but its supporting infrastructure is not. Build the smelter as a module: one input, one fuel route, one output route, and enough open belt space to connect future machines.
| Recipe | Input | Output | Device | Cycle time |
|---|---|---|---|---|
| Iron Ingot | 1 Iron Ore | 1 Iron Ingot | Iron Smelter | 600 seconds |
| Sulfur and Iron Ingot | 1 Pyrite Ore | 40 Sulfur, 120 Iron Ingots | Iron Smelter | 960 seconds |
| Steel Ingot and Iron Ingot | 1 Iron Ingot, 1 Coke Powder | 1 Steel Ingot or 1 Iron Ingot | Athanor | 4 seconds |
The normal iron recipe is ideal for a dedicated line because it has one input and one output. Reserve the pyrite recipe for a separate branch later; mixing its large output with ordinary ore smelting makes belt management much harder.
Blueprint Layout and Material Flow
Start with a single Iron Smelter connected to a furnace, then copy the module only after you know your ore and fuel supplies can sustain it. The simplest layout keeps every flow legible:
- Bring iron ore in on one belt or from a supply portal.
- Feed fuel into the furnace from the back or side.
- Place the Iron Smelter where its output can leave directly toward storage or nail production.
- Keep one tile or belt lane free beside the module for upgrades, overflow, or a second smelter.
- Put an output buffer after the smelter if downstream production is intermittent.
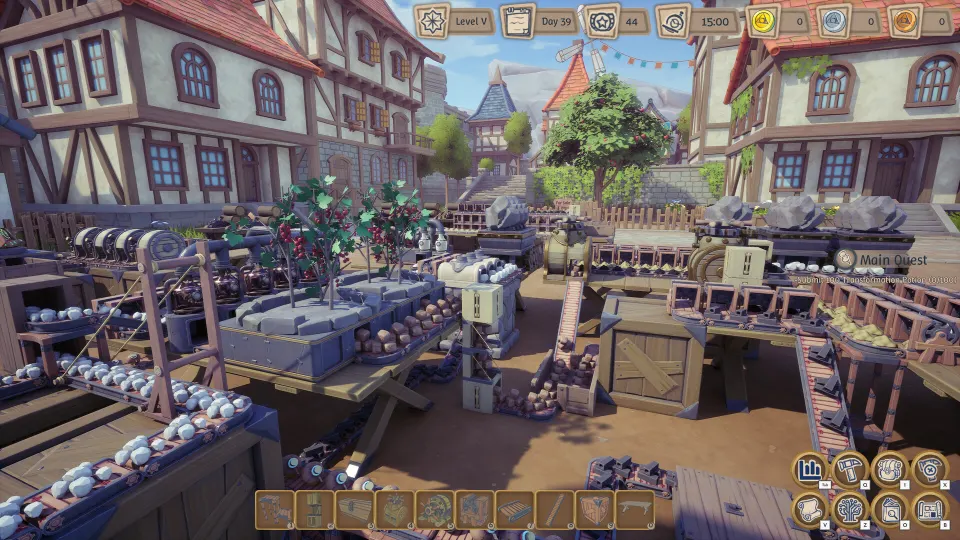
A practical early arrangement is an ore belt on the front edge, the smelter beside it, and a fuel belt behind the furnace. Ingots should exit toward the outside of the factory block rather than crossing above the fuel route. This makes problems visible: an empty ore belt means an input issue, while a stopped smelter with ore waiting usually means a heat issue.
| Blueprint area | Recommended role | Why it helps |
|---|---|---|
| Ore input | Dedicated belt or supply portal | Prevents mixed materials from reaching the smelter |
| Furnace fuel input | Rear belt or nearby fuel buffer | Keeps refueling separate from ingot logistics |
| Iron Smelter | Center of the module | Leaves short routes for both inputs and output |
| Ingot output | Belt to storage, nails, or an Athanor branch | Makes expansion possible without rebuilding |
| Overflow space | Buffer chest or unused belt lane | Protects the line when consumers stop |
Avoid designing the smelter around a perfectly full output belt. Iron is useful in several branches, and a small buffer lets the smelter continue while you add nail production, construction materials, or steel processing.
If space is tight, use transformation controls to test alternate orientations before tearing down belts. Conveyor belts, containers, and some buildings can be rotated or transformed into forms that make compact routing easier. Vertical conveyor lifts are especially useful when fuel, ore, and ingots need separate paths.
Fuel Planning for Continuous Smelting
Fuel is the deciding factor in an iron blueprint. Furnaces consume heat over time, including while idle, so loading fuel long before the line has ore wastes resources. The Iron Smelter itself uses 9 heat per second while active, and its furnace adds 1 heat per second. Together, an operating iron module needs 10 heat per second.
| Fuel item | Heat value | Typical production path | Best use |
|---|---|---|---|
| Log | 2,000 | Raw wood | Emergency or very early fuel |
| Plank | 20 each | Log through Table Saw | Simple early furnace fuel |
| Charcoal | 40 each | Plank through Crucible | More energy-dense belt fuel |
| Charcoal Powder | 48 each | Charcoal through Grinder | Compact fuel improvement |
| Coal | 540 each | Coal ore processing | Higher-density fuel supply |
| Coke Powder | 660 each | Coal to Coke, then Grinder | Strong later-game fuel and steel input |
At 10 heat per second, one 600-second iron ingot cycle requires 6,000 heat if the smelter remains active for the whole cycle. That does not mean you should hand-count every fuel item forever; it means your fuel line needs enough density and throughput to avoid starving the machine.
Early on, planks are easy to produce but bulky and relatively weak. Charcoal and charcoal powder make the belt more useful because they carry more heat per item. However, converting planks into charcoal also costs heat, so the gain is mainly logistical until your fuel system scales.
A shared furnace with multiple Crucibles can reduce overhead because the furnace’s own heat cost is shared. That same logic does not make extra machines free: each connected machine still has its own heat demand. Use grouped Crucibles for charcoal production, but give the Iron Smelter enough dedicated fuel capacity that it does not compete with the fuel-making line.
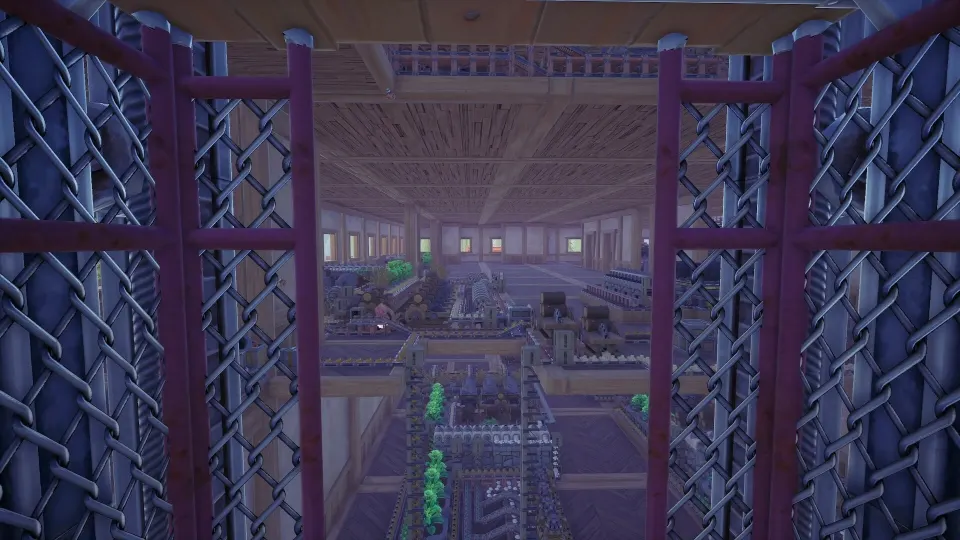
Expanding From Ingots to a Factory Block
Once the first module runs reliably, choose the next product before duplicating smelters. Nails are a natural immediate consumer because they turn stored ingots into a more useful manufactured item. Steel is a longer-term branch that uses iron ingots and coke powder in an Athanor, with a chance-based result rather than a guaranteed steel output.
| Expansion goal | Inputs needed | Output handling | Blueprint consideration |
|---|---|---|---|
| Iron ingot storage | Iron ore and fuel | Buffer chest or belt | Good for flexible early expansion |
| Nail production | Iron ingots | Direct belt to shop or storage | Leave a clear ingot branch point |
| Steel production | Iron ingots and coke powder | Separate return/overflow handling | Steel result is chance-based |
| Pyrite processing | Pyrite ore and fuel | Sulfur plus many ingots | Keep separate from standard iron flow |
For a scalable build, use a main ingot belt with branch points instead of feeding every ingot directly into one consumer. A storage buffer after the smelter can absorb temporary excess, while a splitter or routing choice sends ingots toward nails or steel when those systems are ready.
Do not overbuild smelters just because ore is available. First confirm that your fuel chain, belts, and output storage can support another 10 heat-per-second demand. A second smelter with no reliable fuel is usually less useful than upgrading the fuel route feeding the first one.
FAQ
What does an alchemy factory iron smelter blueprint need?
It needs a consistent iron ore input, a furnace supplying heat, an Iron Smelter, and a clear ingot output route. Add a buffer and spare belt space if you plan to make nails or steel later.
How much heat does an Iron Smelter use?
The Iron Smelter uses 9 heat per second while working. With the furnace’s 1 heat per second cost, the complete operating module uses 10 heat per second.
Should I use charcoal powder for iron smelting?
Charcoal powder is a useful upgrade because it carries more heat per belt item than charcoal. It is especially helpful when belt space is limited, though producing it also requires additional machines and fuel.
Can one furnace support several machines?
Yes. Multiple attached machines share the furnace’s base heat cost, which improves efficiency compared with separate furnaces. Each machine still consumes its own heat while operating, so expand only when your fuel supply can support the added load.