Why Level 3 Changes Your Factory
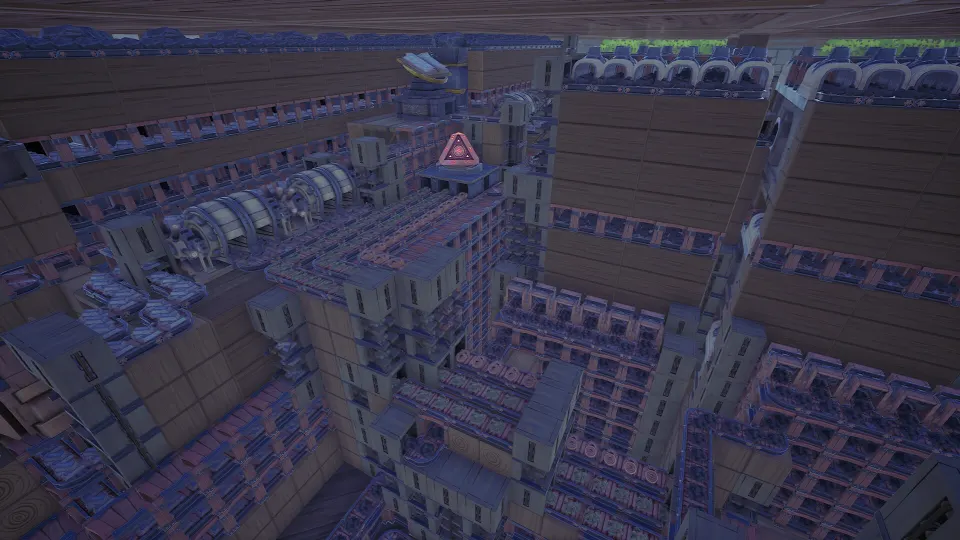
The alchemy factory building tool level 3 matters because it unlocks support pillars, the piece that makes reliable second floors possible. Without proper supports, a crowded ground-floor factory can run out of room long before its production lines are finished.
Level 3 is not simply a cosmetic upgrade. It lets you build vertically while keeping machines, conveyors, and walkways usable below. A good support layout turns a cramped workshop into a factory that can grow one section at a time.
Players commonly reach this point after buying multiple plots and filling them with production equipment. Before tearing down an existing setup, test a single raised platform. You may be able to move only one machine line or shift a blueprint rather than rebuild the entire factory.
| Building Tool level | Main building options | Best early use |
|---|---|---|
| Level 1 | Stairs, half-floor platforms, signs | Basic access and small raised areas |
| Level 2 | Full floors and walls | Rooms, walkable surfaces, enclosed support lines |
| Level 3 | Support pillars | Stable vertical construction and open space below |
Unlock and Use the Building Tool
The construction path begins with the Workbench, which becomes available through the Tier 3 technology tree. Craft the Building Tool, then improve it through its available upgrades until it reaches level 3.
Open the build menu after upgrading and select a support pillar. Placement previews are important: a pillar may appear to fit visually while still failing the game’s structural placement rules. Use the preview before committing materials to a large floor plan.
A simple first project is better than a full factory renovation:
- Choose one production area that needs more space.
- Leave room around machine inputs, outputs, and conveyor connections.
- Place supports where they can continue straight down to ground level.
- Add a short beam or small floor section.
- Confirm it remains valid, then extend the pattern.
Walls can also support floors, but pillars are usually better when you need open routing beneath an upper level. They occupy less visual space and leave more room for belts, storage, and tall machines.
| Part | Structural role | When to choose it |
|---|---|---|
| Support pillar | Carries load vertically | Open production bays and repeatable support grids |
| Wall | Supports floors while enclosing space | Workshops, store rooms, and divided production zones |
| Beam | Bridges between supported points | Covering equipment without filling the space below |
| Full floor tile | Creates broad usable floor area | Regular platforms and complete rooms |
| Quarter floor tile | Finishes narrow gaps | Edges, stairs, columns, and awkward spans |
Build a Stable Second Floor
A second story needs more than a floor tile placed above machines. Its supports must connect continuously to the ground. Think of every upper floor as a chain: floor to beam or wall, beam or wall to pillar, and pillar to the ground.
Support pillars have placement limits. They work most reliably at corners and suitable edge positions of full-sized floor tiles. A central spot on a table or a random point beneath an existing platform may not accept a pillar, even if it looks reasonable from above.
If a support will not place beneath your current layout, do not assume the factory is ruined. Move the affected line with the blueprint system, shift equipment to the next valid space, or replace an obstructing section with a beam-supported span.
Beams are especially helpful over bulky equipment. Instead of packing columns around a table saw, crusher, nursery, or other tall device, establish valid supports at either side, bridge the gap with beams, and place your upper floor above them. The lower bay stays open for maintenance and logistics.
| Problem | Likely cause | Practical fix |
|---|---|---|
| Pillar will not place | The tile position is not a valid corner or edge support point | Shift the platform, move the machine line, or use a wall |
| Floor preview becomes invalid | The span extends beyond its supported range | Shorten the floor section or add a direct support |
| Upper floor blocks machinery | The floor is too low or the support grid crosses equipment | Use beams and relocate supports to clear the machine |
| Belts become difficult to inspect | Supports and stairs cut through a busy route | Reserve a maintenance aisle before expanding |
| Rebuild feels overwhelming | Existing machines occupy valid support locations | Move one blueprint section at a time and test each change |
Plan Floors Around Production
The best vertical factory is not the tallest one. It is the one where production, customers, and repairs remain easy to manage. Assigning each story a job keeps conveyor routes understandable and prevents stairs or columns from becoming permanent bottlenecks.
Keep heavy machinery, raw inputs, and main belt trunks on the ground level whenever possible. This is where you will need the most access for deliveries, supply portals, and large processing chains. Use an upper level for compact crafting, secondary processing, storage, or a shop area.
A repeated grid is the safest long-term design. Put pillars or load-bearing walls in positions you can repeat directly above one another. That makes later expansion predictable and avoids the frustration of discovering that a decorative layout cannot carry another story.
| Level | Recommended purpose | Key planning rule |
|---|---|---|
| Ground floor | Raw materials, heavy production, main logistics | Preserve machine access and belt routes |
| First upper floor | Compact processing and secondary crafting | Build over a repeatable support grid |
| Shop floor | Shelves and customer-facing displays | Maintain a clear path to vertical access |
| Top floor | Storage, utilities, or future expansion | Leave support positions free for another level |
When laying out a new floor, use full tiles for wide, regular sections. Quarter tiles are valuable around columns, stair openings, and edges where a full tile would not fit. They take more placements, but they can finish a platform cleanly without forcing a structural redesign.
Place stairs or other vertical travel routes away from critical machines. A stairwell beside a complicated splitter, tunnel, or belt junction is likely to become a nuisance later. Reserve one small bay for access and future modifications instead.
Before removing any wall or pillar, inspect everything above it. A support is part of a connected structure, not an isolated decoration. Build a replacement support first, check that the upper platform remains valid, and then remove the old piece.
FAQ
What does the alchemy factory building tool level 3 unlock?
It unlocks the support pillar. Pillars provide the vertical structure needed to build stable elevated floors and keep the area beneath them more open than a wall-heavy design.
Why can’t I place a pillar under my existing floor?
Pillars can only be placed at valid structural positions, commonly corners or suitable outer-edge locations of full floor tiles. A table, machine, or misplaced platform may occupy the space where the support needs to go.
Do I need to demolish my whole factory for a second floor?
Usually, no. Try moving a single production line with blueprints, relocating a machine, or shifting the platform to the next valid support position. Build a small test section before changing a larger area.
Are walls better than pillars for upper floors?
Neither is always better. Walls provide support and create rooms, while pillars preserve open space for conveyors and equipment. Mix them deliberately based on whether the lower area needs enclosure or clear routing.
When should I use beams?
Use beams to bridge between valid supports, particularly above tall or non-stackable machines. They let you create a floor above a working production bay without filling that bay with walls or pillars.