Plan Your Vertical Logistics Route
Moving production upstairs frees valuable ground-floor space, but a bad vertical route can stop an otherwise efficient factory. Conveyor tunnels travel through walls and windows, not directly through floors, so every floor-to-floor line needs a deliberate opening, exterior route, or launch path.
The most reliable approach is to decide where vertical logistics will live before filling an upper floor with machines. A narrow service shaft, an open central area, or an outside wall route can carry many item lines without forcing a later rebuild.
| Route type | Best use | Main tradeoff |
|---|---|---|
| Conveyor Lifter through a floor gap | Reliable item transport up or down | Requires an opening in the floor |
| Exterior lift route | Keeps interior floors clear | Uses building exterior space |
| Catapult from a balcony or platform | Sends goods to shelves or distant targets | Needs a clear throwing path |
| Shelves, tunnels, and lifts | Flexible workaround around walls and floors | Can be harder to align cleanly |
For a new multi-floor build, reserve a logistics corridor along one edge or behind a wall. Leave quarter-floor gaps or a larger central opening where lifts will pass. This gives belts a predictable destination on every level and makes future expansion much easier.
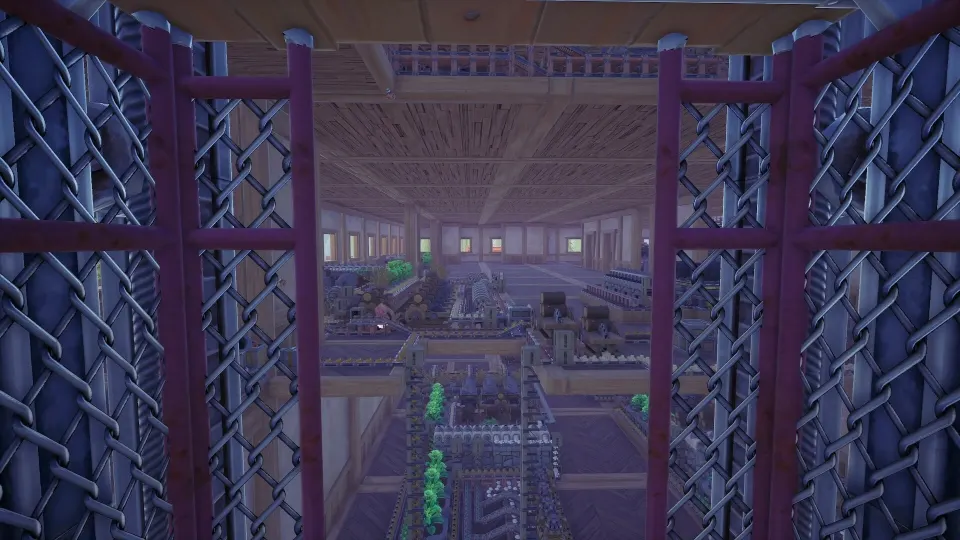
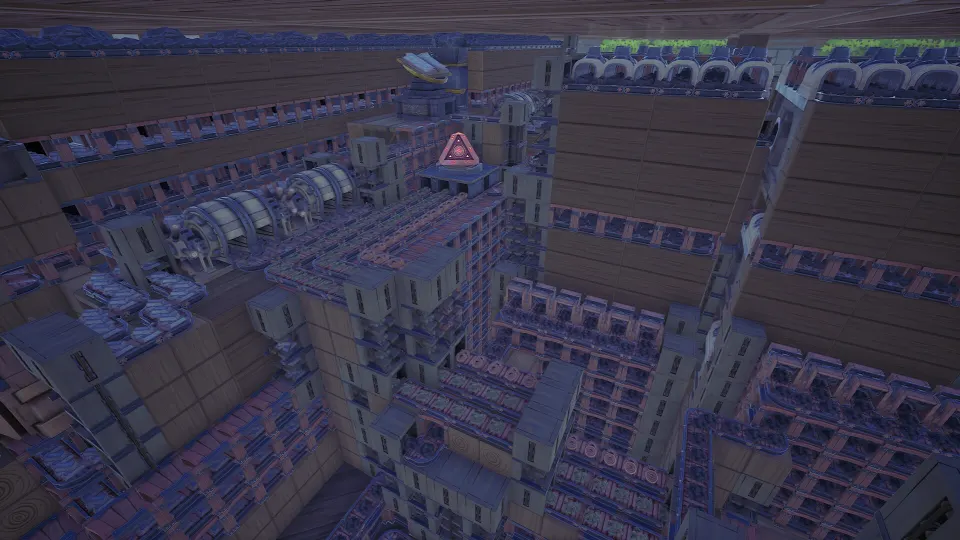
A central shaft works especially well for a busy factory. Put boxes or buffers near the shaft on each floor, then use short belts to feed local machines. Instead of running every production belt across the entire building, you create a vertical bus that distributes items where they are needed.
Use Conveyor Lifters for Direct Transport
A Conveyor Lifter is the main tool for moving items between heights. It can carry goods upward or downward, and it can span a substantial vertical distance when placed at the needed height. It still needs physical clearance through the floor, so remove or avoid a floor section where the shaft passes.
To place one, align its lower end with the input or output route, hold the placement control, and drag the upper end to the target height. While placing, rotate the top connection to line it up with the receiving belt. Reverse the lift direction if the wrong end is acting as the input.
| Control or action | Result |
|---|---|
| Drag while placing the lift | Sets the lift's height |
| Rotate the upper connection | Aligns the top with belts or storage |
| Reverse the lift direction | Changes which end receives and outputs items |
| Connect a belt or box at each end | Completes the transport route |
| Leave a floor opening | Prevents the floor from blocking the lift |
For a downward line, make sure the upper end receives products and the lower end outputs them. Connect the bottom to a conveyor, storage box, hopper, or the next processing stage. If items stop at the lift, inspect direction first; a reversed lift is a common cause of a backed-up belt.
Do not stack lift shafts expecting them to become one continuous lift. Each placement is a separate transporter. Set the required height when you first place the lift, then build a second section only when you intentionally need another transfer point.
A practical setup might send finished goods from second-floor production into a ground-floor display area. Place a storage buffer upstairs, belt it into a downward lift, then run a short belt from the lower exit to its destination. Buffers keep the line operating when downstream shelves briefly fill up.
Build Floor Openings That Stay Usable
The game does not provide a standard vertical conveyor tunnel through a solid floor. That makes floor design part of your logistics plan. A small gap is usually enough for a lift, but it can affect movement and AI pathing if it is placed carelessly.
Use smaller floor sections when possible instead of deleting a broad section. A quarter-floor opening creates a compact lift channel while preserving most of the walkable surface. Keep openings away from high-traffic shop areas unless they are protected by walls, platforms, or a dedicated back-room corridor.
| Opening layout | Works best when | Planning note |
|---|---|---|
| Central open shaft | Many lines serve several floors | Easy to expand into a lift bus |
| Edge gap along one wall | You want open work areas | Keeps machinery away from foot traffic |
| Exterior wall route | Interior floor must remain intact | Use wall tunnels to re-enter the building |
| Balcony or platform edge | Using catapults or exposed lifts | Provides clear paths to lower targets |
A lift bus is a row of parallel Conveyor Lifters placed through the same shaft. Assign each lift to a product family, such as wood products, metal components, potion ingredients, or finished goods. Labeling the destination with storage placement and belt direction is often enough to keep the bus understandable.
If you use a central hole, make the surrounding floor intentional rather than accidental. Add walls, platforms, beams, or storage around it so it reads as a service core. This also reduces the chance of walking into the opening while managing inventory.
For exterior routes, send a belt through a wall tunnel, place the lift outside, and bring the output back through another tunnel. This can preserve every interior floor tile. Build and align the inside tunnel first, then position exterior shelves or supports around the required connection point.
Use Catapults When a Lift Is Not the Best Fit
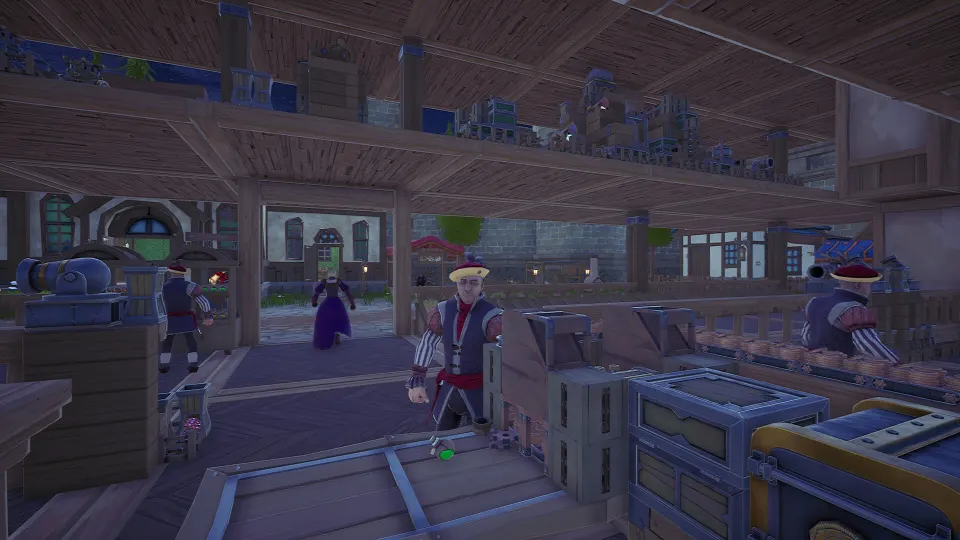
Catapults provide another way to move goods between levels, especially when you are feeding shelves or display areas below. They can launch products over long distances and through windows, making them useful for open storefronts, balconies, and elevated production floors.
Catapults are less precise than a belt-and-lift route. They need a clear trajectory and may be awkward for targets directly beneath them. Use them when visual style, distance, or shelf restocking matters more than tightly packed vertical routing.
- Put catapults on a balcony, platform, or upper-floor edge.
- Feed them from a buffer box or hopper so production does not pause.
- Aim across open space rather than straight down whenever possible.
- Test one product line before building a large catapult array.
- Keep walking lanes clear of landing zones and loose items.
| Method | Strength | Best destination |
|---|---|---|
| Downward Conveyor Lifter | Consistent and compact | Belts, machines, storage, or hoppers |
| Upward Conveyor Lifter | Moves inputs to upper production | Processing lines and storage buffers |
| Catapult | Covers distance and can feed displays | Shelves, display areas, open platforms |
| Exterior lift with tunnels | Protects indoor floor space | Any floor with accessible outside walls |
A mixed design is often the cleanest solution. Use lifts for raw materials and intermediate products, then catapults for finished goods headed to retail displays. This keeps essential production predictable while letting the shop floor stay open and visually interesting.
When floor space is limited, stack machines and storage on stands or platforms. Running belts beneath raised equipment can reduce clutter, while lifts at the edge of the module connect that production block to the next floor. Build repeatable modules so a new floor can be connected without redesigning the whole factory.
FAQ
How do I make Alchemy Factory move items between floors?
Use a Conveyor Lifter and leave a gap in the floor for it to pass through. Drag the lift to the required height, rotate its upper connection to meet the next belt, and reverse its direction if necessary.
Can conveyor tunnels go through floors?
No. Conveyor tunnels are useful for walls and windows, but they do not serve as a direct vertical tunnel through a floor. Use a lift through a floor opening, route the line outside, or use a catapult.
How large should the floor gap be?
A quarter-floor opening can be enough for a compact lift route. For many products, reserve a larger shaft or edge corridor so you can add more lifts later without rebuilding your floors.
Can I send items down to ground-floor shelves?
Yes. A downward Conveyor Lifter is the most dependable option. Catapults can also send goods from an upper floor or balcony into a display area, provided they have a clear route to the target.
Why are items stuck at my Conveyor Lifter?
Check that the lift direction matches the belt direction and that both ends are connected. For a downward setup, the upper end should take input and the lower end should feed the output route.